Laser Scanning
Recreating Vulci in Three Dimensions
The laser scanner can be used to create 3D models. In comparison with photo scanning, laser scanning is light independent, meaning that scans can be taken at any time of the day with any lighting. The laser scanner is an active sensor because it uses its own infrared light to measure the surroundings. Laser scanning involves taking multiple scans in different locations around the region of interest. In post-processing the scans, you need to know how to align the scans together in order to create a cohesive 3D model. Normally, white spherical targets are used to align the scans. In any scan, at least 3 targets must be visible in order to appropriately align the scans, and targets should be positioned to be visible in the maximum number of scans. If the white targets fail to align, scans can be manually aligned by matching the same points on different scans by sight.
Laser Scanning Steps:
Laser Scanning Steps:
- Make a plan. Make a sketch of the region/object that you wish to laser scan and tentatively decide where to take the scans and where to place the targets. At least 3 targets should be visible in each scan.
- Place the targets. The spherical targets have a magnet at the bottom. This magnet can be used to secure the target by either directly placing it against something metallic or placing it on 2-3 nails. When placing the targets, pick locations where they can be seen from multiple scans. Place targets at higher locations and away from walls or other structures that might decrease visibility of the target.
- Place the laser scanner so that the most targets possible are visible. Level the tripod and raise it to the appropriate height to capture the area of interest while maintaining visibility of the targets.
- Choose the correct settings for the scan. This step can be done before you begin. For example, you can create a setting profile for outdoor versus indoor scenes. An outdoor scan takes more points and therefore takes more time to complete a scan, whereas an indoor scan is quicker but takes fewer points. The larger the number of points, the higher the resolution. Also choose the angle of view in the laser scanner.
- Start the scan. The safety distance for the laser scanner is 8 meters. After pressing “Start scan,” there will be some time before the scanning begins. This gives you time to walk at least 8 meters away from the scanner. Safety notice: never look directly at the infrared light/mirror coming from the scanner while the scanner is turned on, otherwise this will damage the retina.
- Wait 10-20 minutes for the scan to finish. There is a tone when the scan has finished. Move the scanner to the next position.
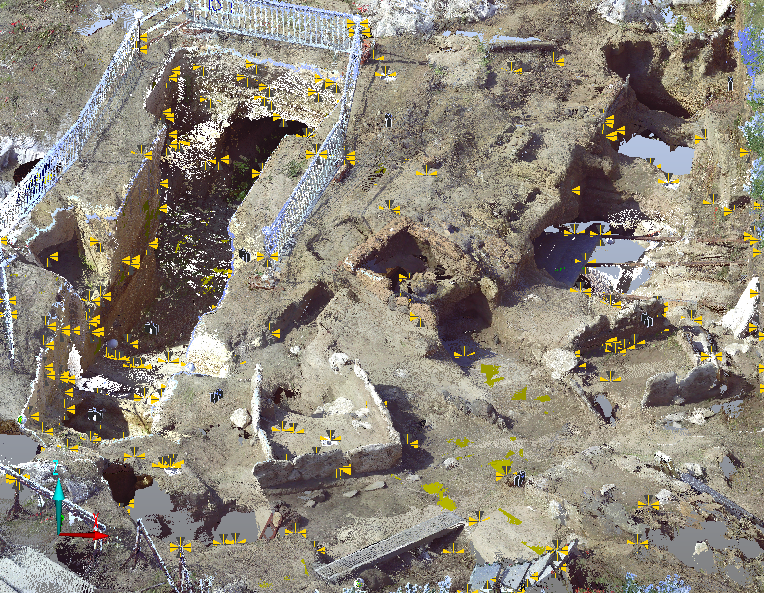
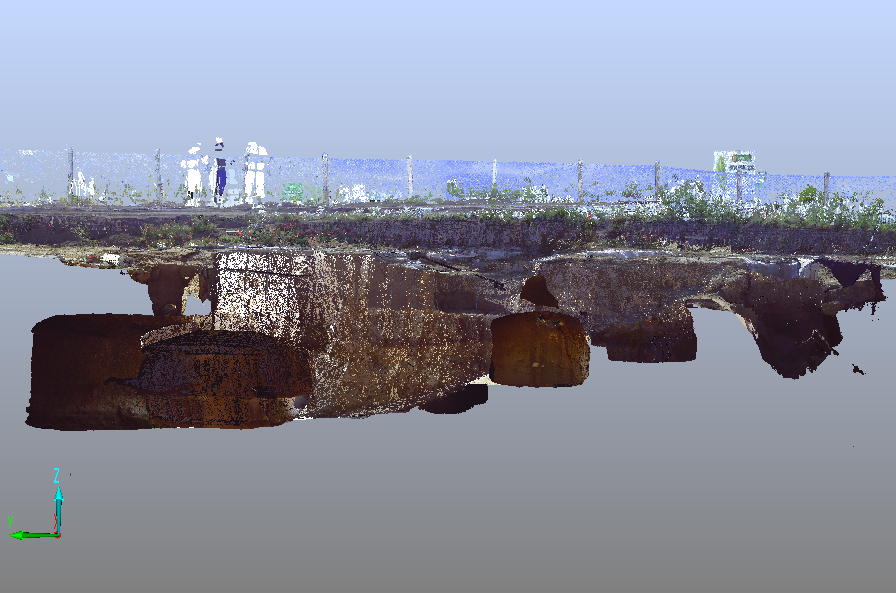
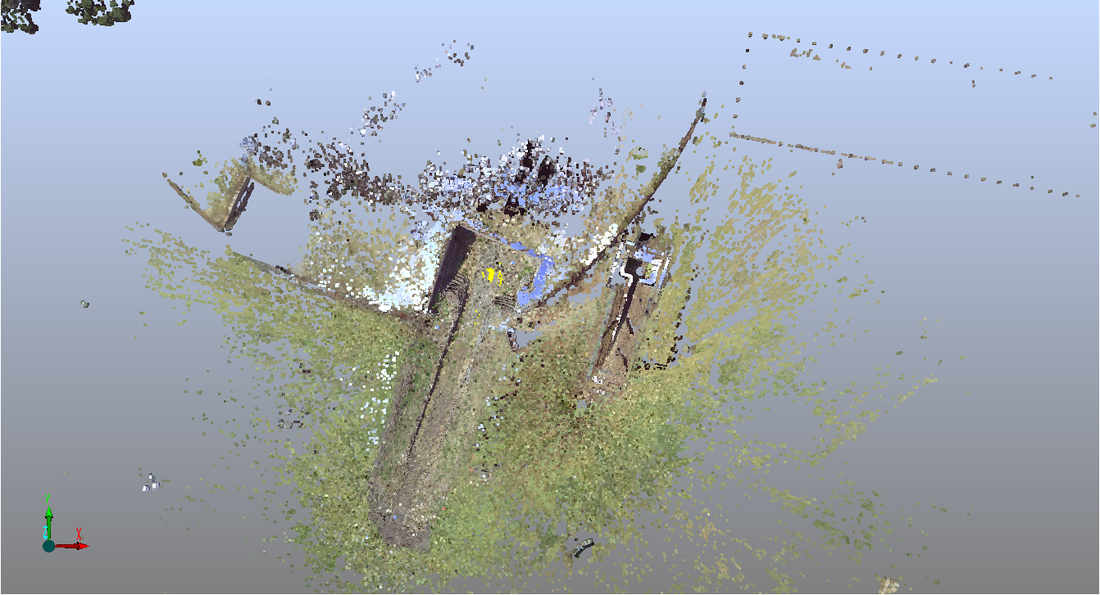
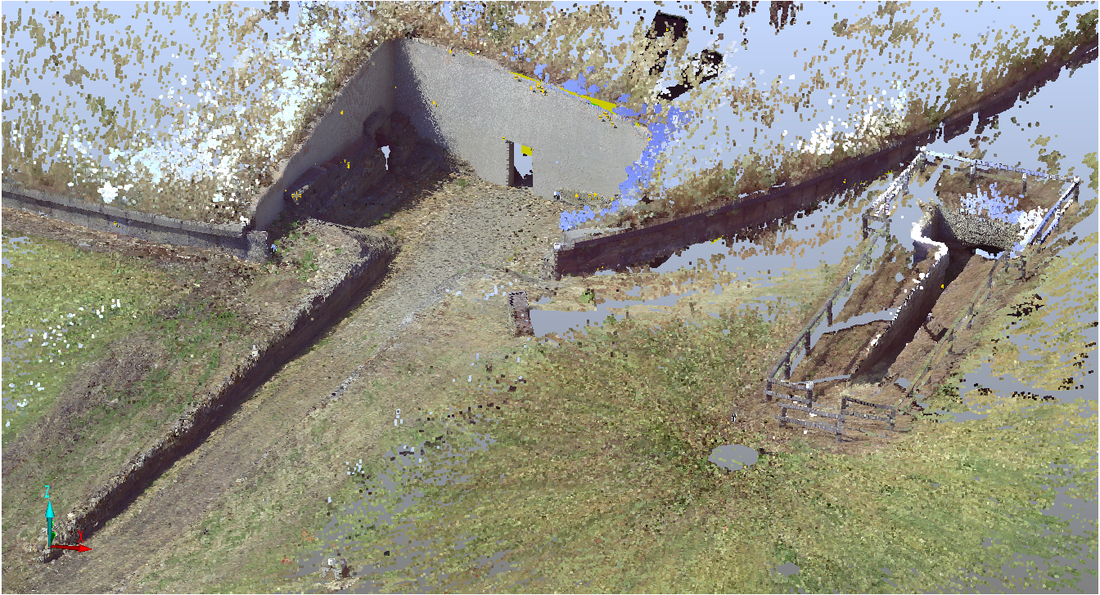
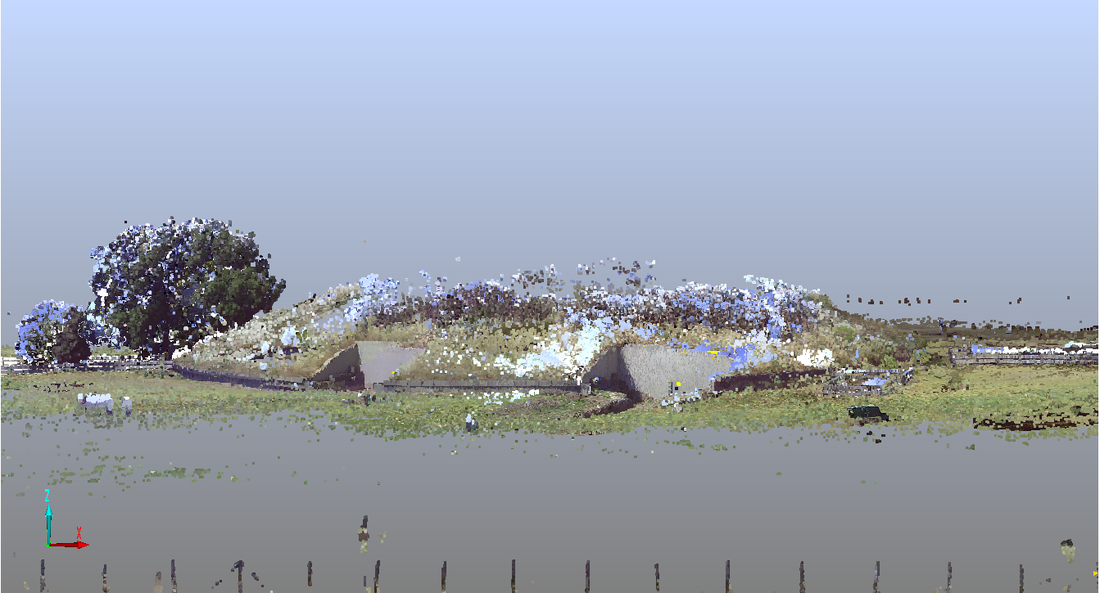
Sites Surveyed & Scanned
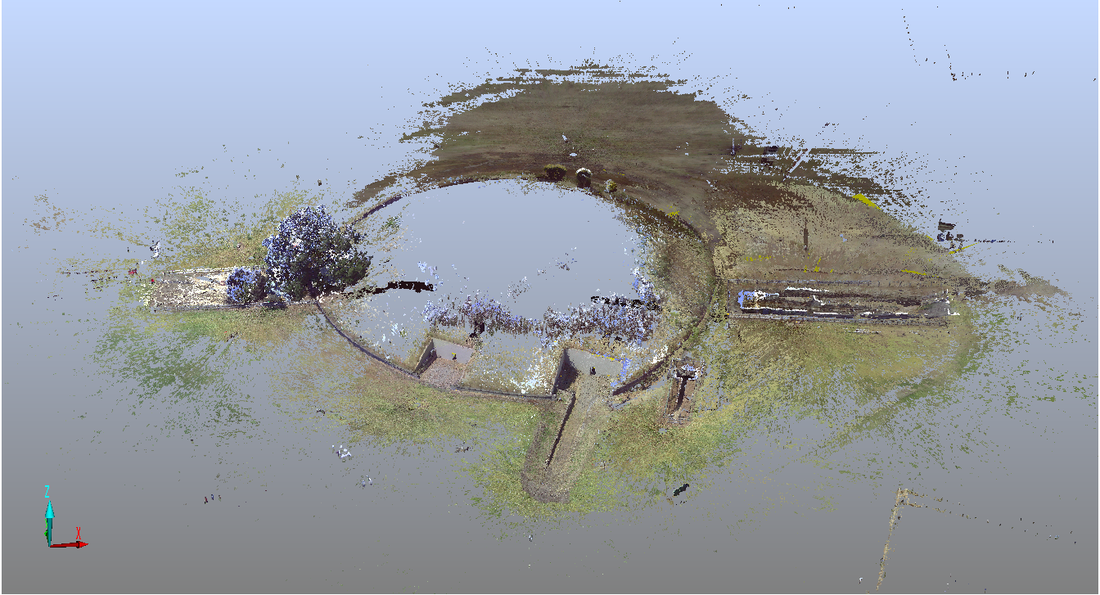
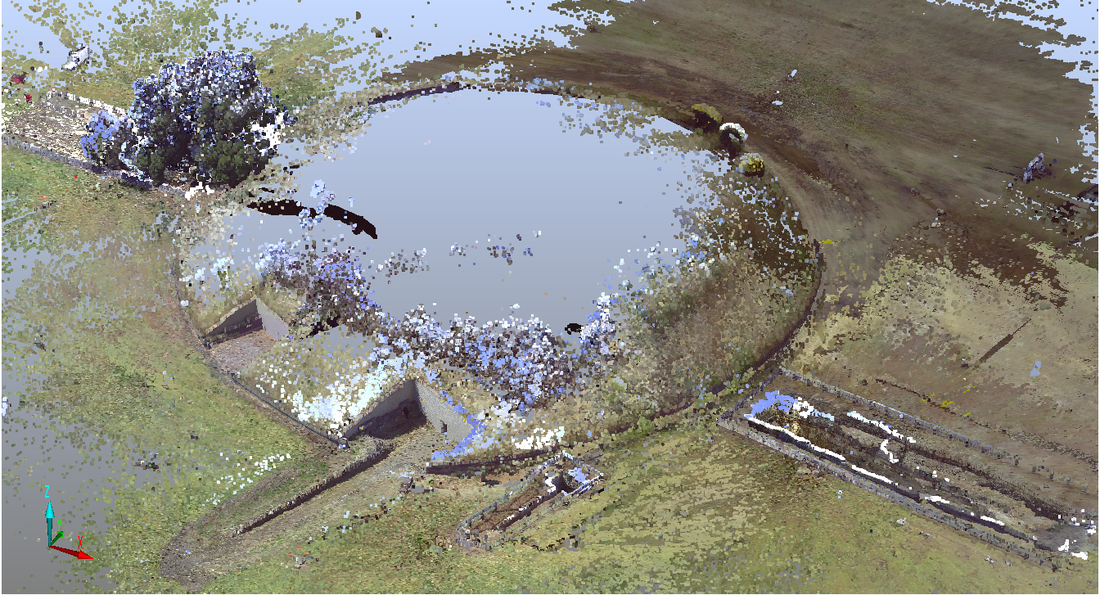
Cuccumella

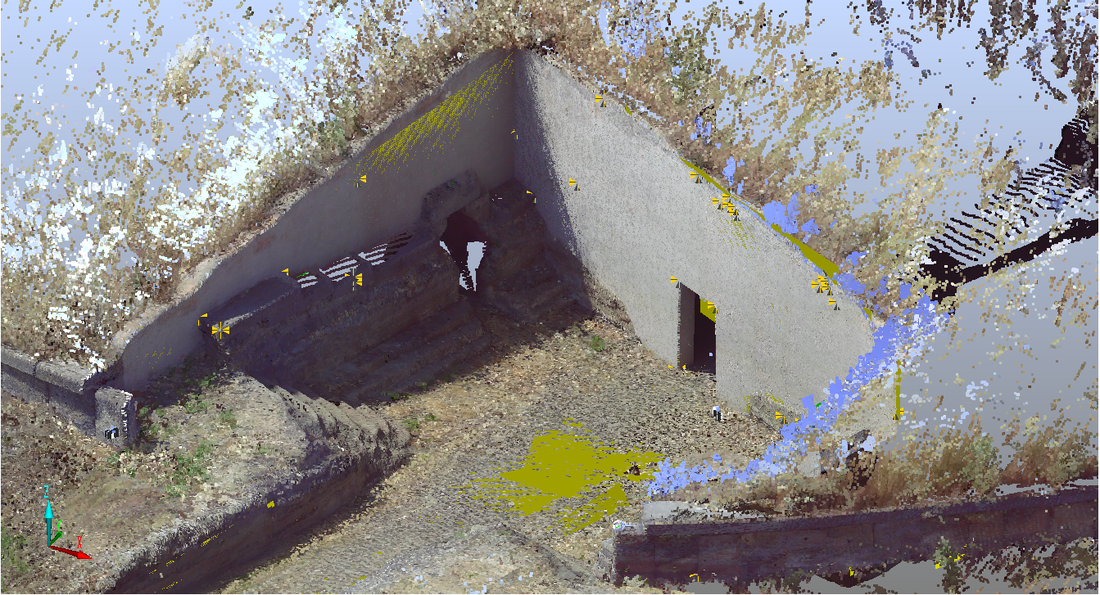
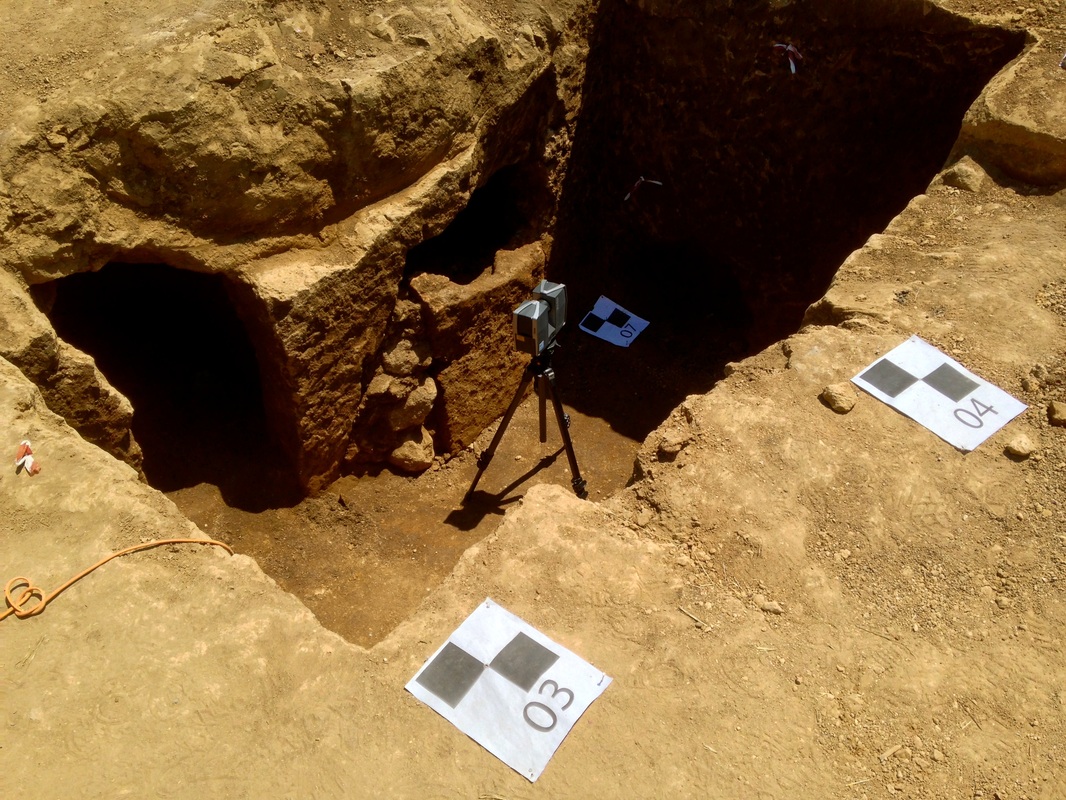
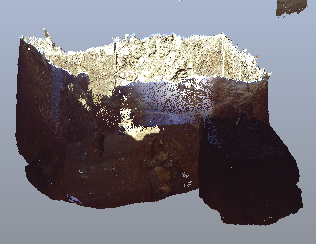
Recently Excavated Tomb
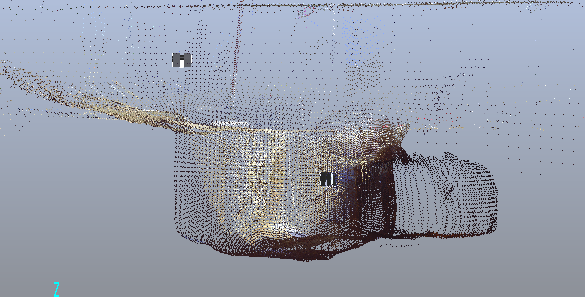
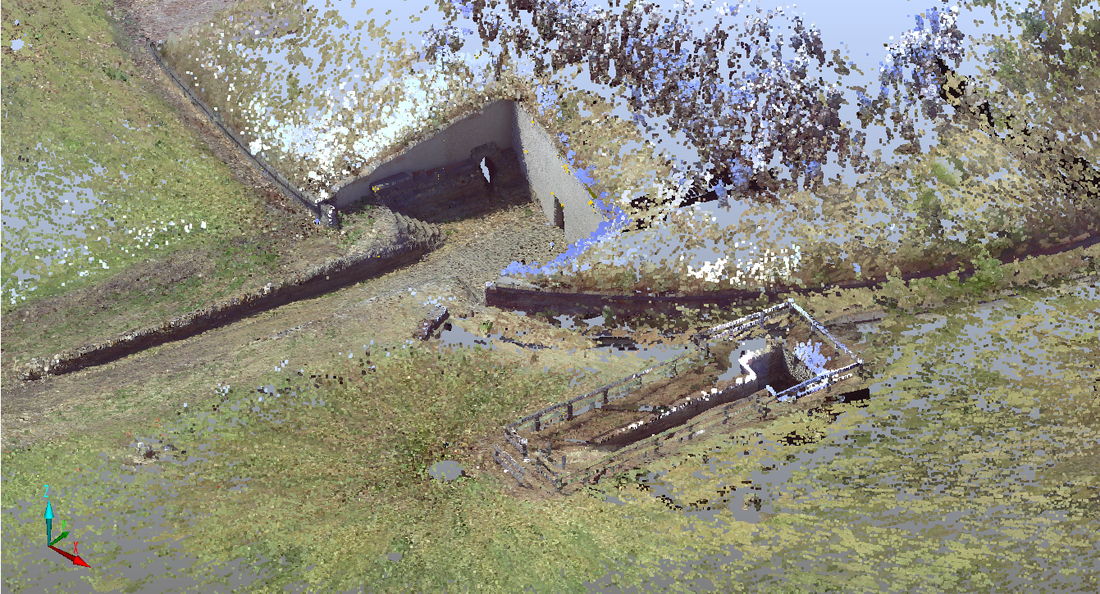
Tomb of the Silver Hands